from Celina-Marie Kuehne /
Unfortunately, I couldn’t participate in my school’s garden project because I wasn’t at Austin High at the time. That’s why I made up for the school project privately with my dad in April. But in Germany, my family and I always had a garden and harvested fruits and vegetables or enjoyed colorful flowers. I learned a lot doing that. After we moved to Texas, we planted some plants on our balcony. As a result, we have some tomatoes, herbs (basil, oregano, …), and flowers. And we also have some cacti (I like those especially).
My elementary school in Gera also had a “school garden.” There we learned about native plants and animals in the gardens.

What was the garden project?
The term “food desert” often refers to an urban area where it is difficult to buy affordable or quality fresh food. Instead, these neighborhoods have a higher percentage of fast food restaurants and convenience stores (as opposed to grocery stores), which severely limits the eating habits of their residents. The urban vegetable garden is a way food desert residents can access fresh and healthy food.
The student group’s task was to design a food garden system for an urban gardener. Specifically, the groups had to design and build a portable food garden system for a small space (like an apartment terrace). Since we live in a predominantly urban environment, space-saving and user-friendly structures like this are necessary.


The following projects were available for selection:
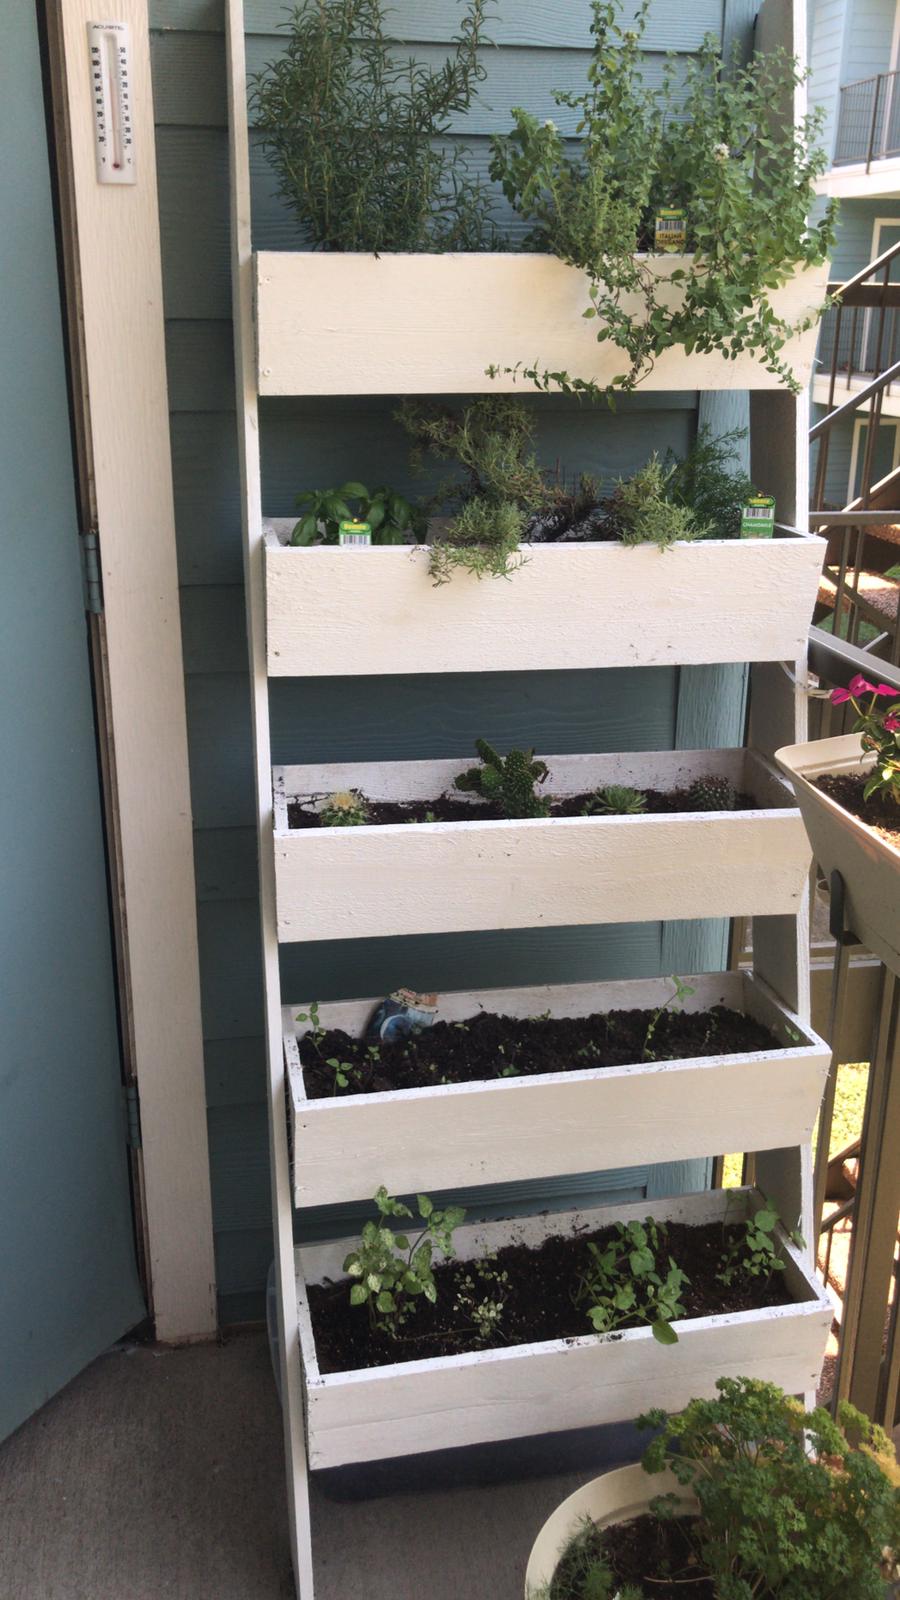
Nr. 1 – Cedar Vertical Tiered Ladder Garden Planter
Link: cedar-vertical-tiered-ladder-garden-planter
Nr. 2 -DIY Tiered Planter Box
Link: tiered-planter-box-plans-tutorial
Nr. 3 – DIY Planter Box From Pallets
Link: pallet-planter
Nr. 4 – DIY PLANTER POT TABLE COMBO FOR THE PATIO
Link: diy-planter-pot-table-combo-patio
What I did:
I chose the first project, and this is how we did it:
First, I got information about what material I needed; in my case, I needed nine fence slats (1.80 meters). We used cedar wood.
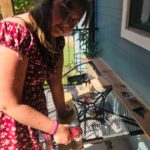
- First, my dad and I measured the boxes that would later be the flower boxes. Then we sawed everything to size and assembled them.
- Next, we beveled the top and bottom of the two side panels so that the structure could later be placed at an angle against a wall.
- As a final step, we screwed the boxes to the sides and planted everything.
Addition: We have painted our construction white.


